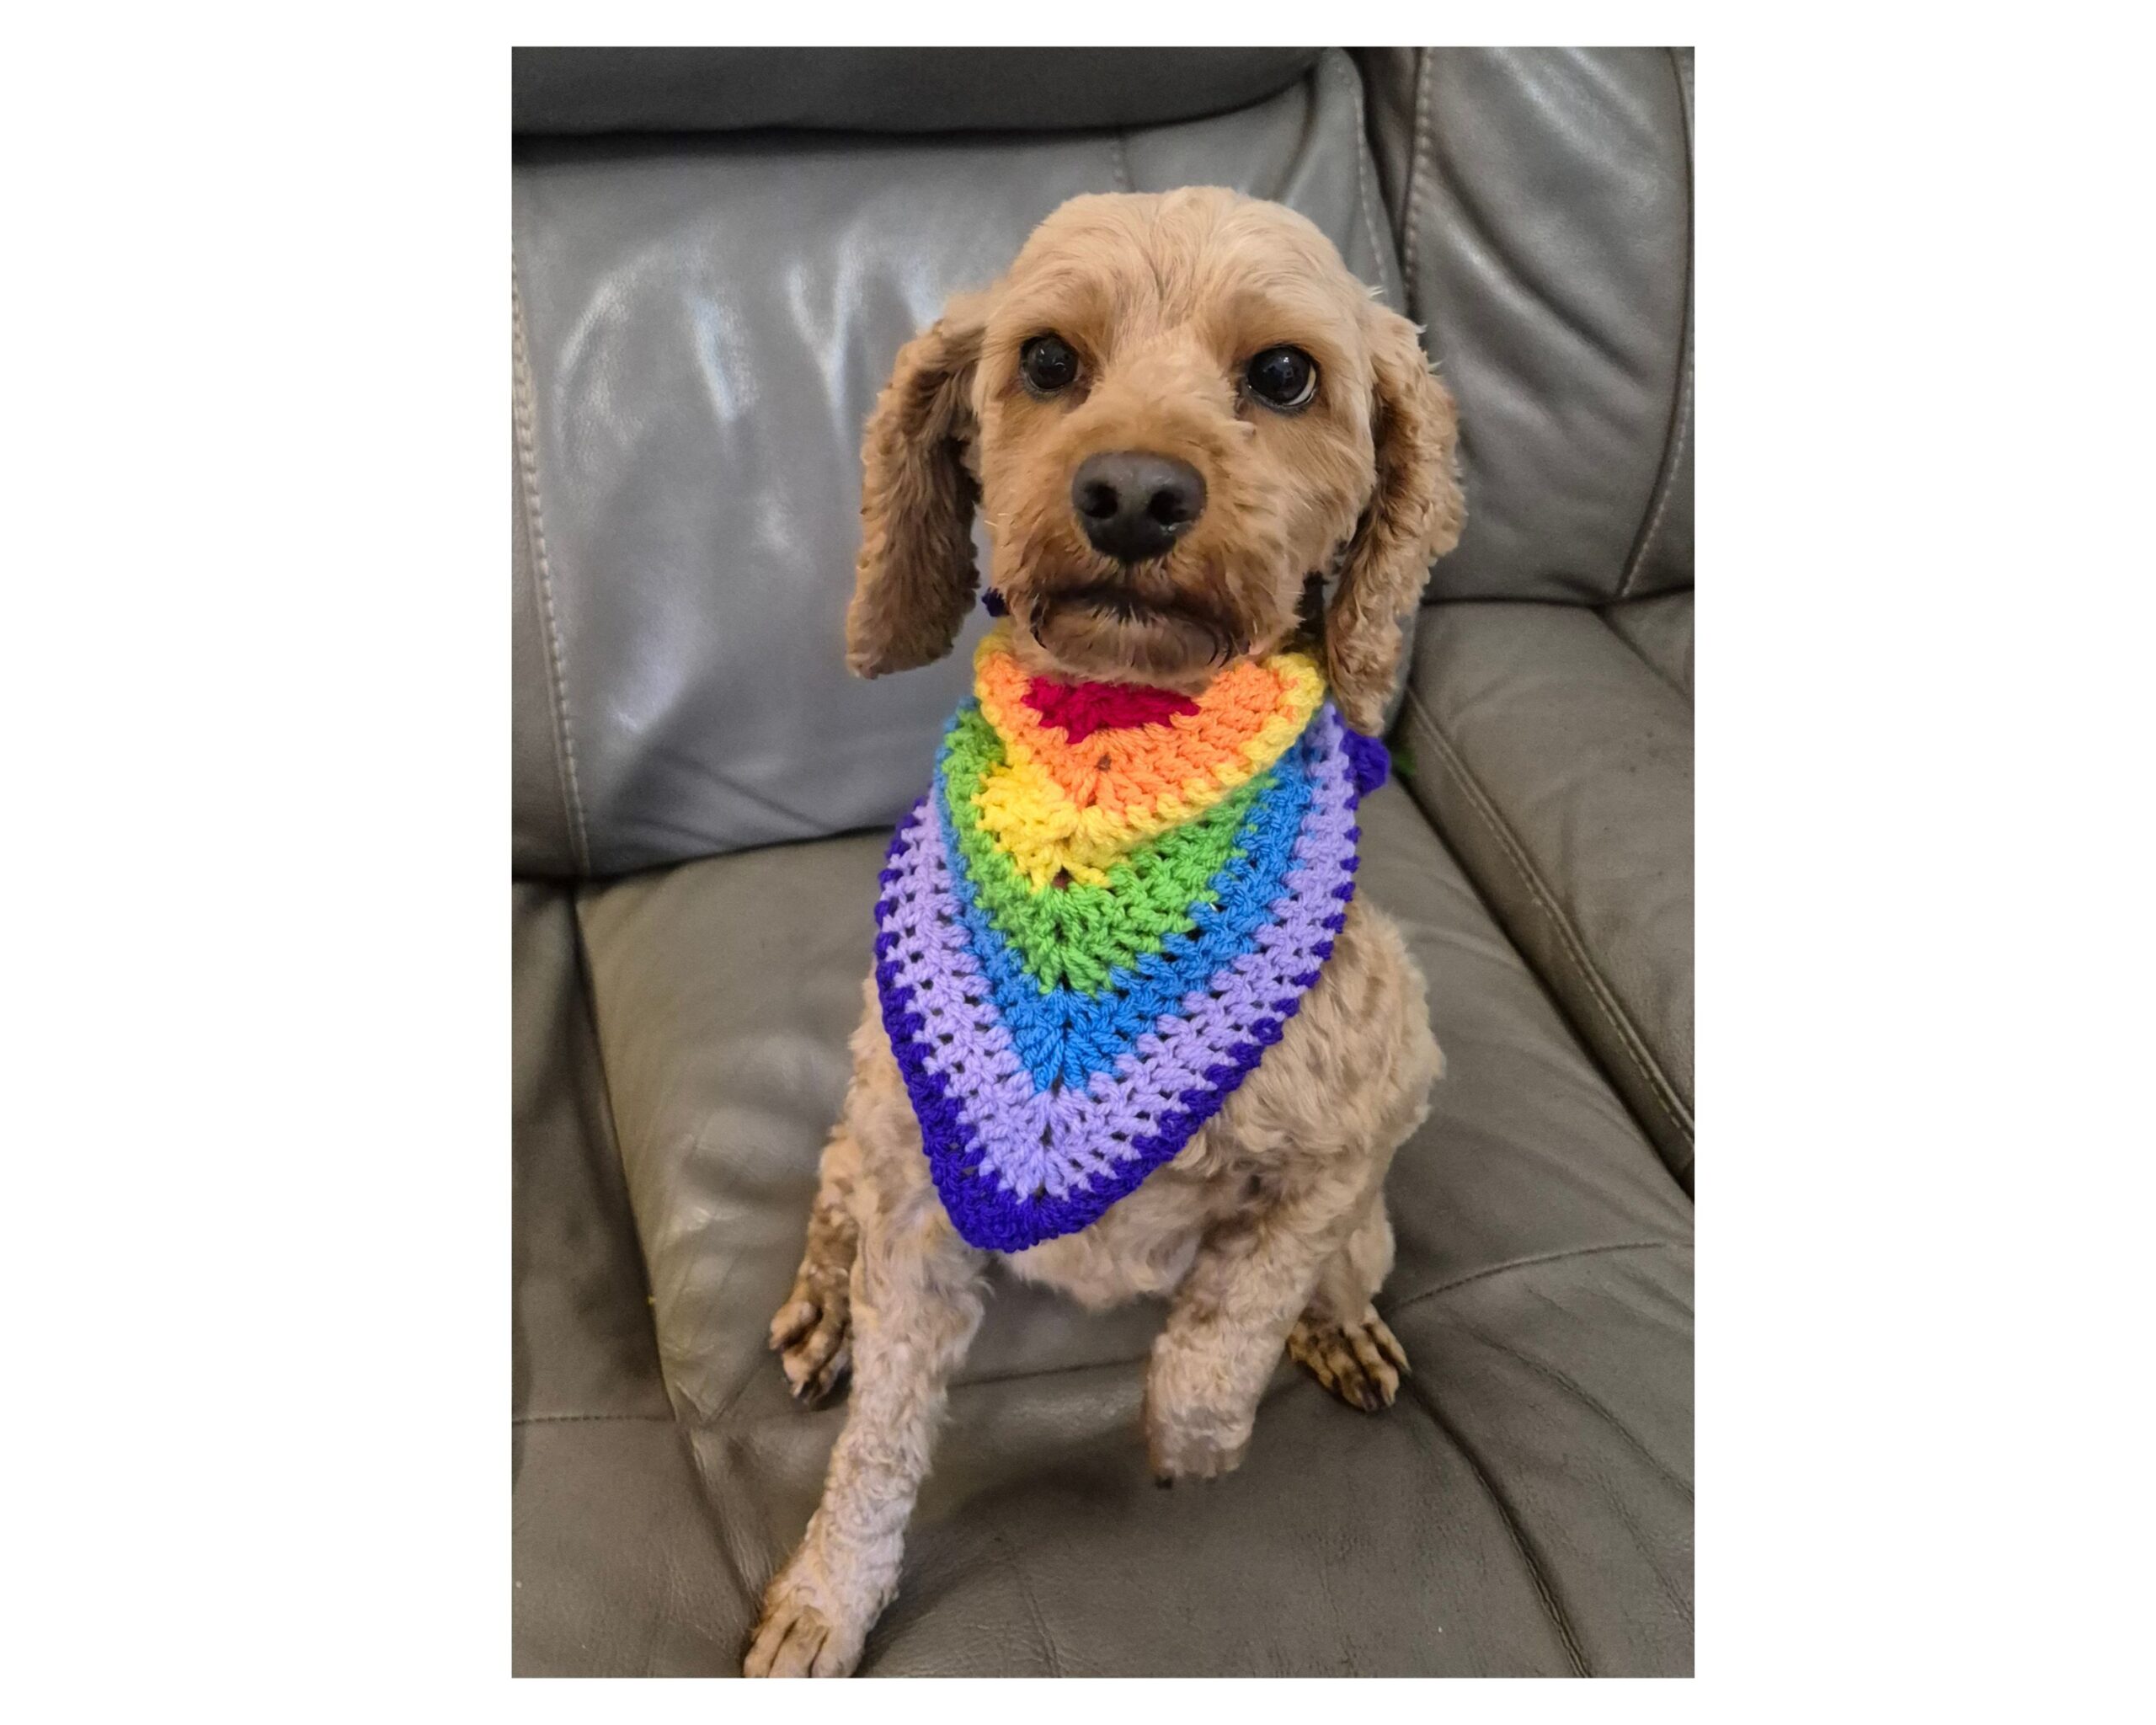
This bandana for dogs is lovely to make; it’s quick and easy and great for using up all your scraps. The video tutorial is here, but if you prefer a written version, that’s below.
Written Tutorial
Make a magic circle and chain 3. This counts as your first double crochet.
R1. Work 4 dc into the circle. Pull the tail of the yarn to tighten the magic circle but don’t fully close it.

R2: Turn your work and ch 3. This ch 3 counts as your first dc. Work a dc into the same st as shown below.

Dc into the next st. The next st is the central st. In this st, work 2dc then ch1, then 2 more dc. Dc in the following st then work 2dc into the last st (the space between the starting ch3 and 1st dc of the previous row)
R3: Turn your work. Ch 3 (counts as 1dc). 1 dc into the same st then dc into every st until you reach the ch1 space in the centre. 2 dc, ch1, 2dc into the ch1 space. Dc into every st until the last st. 2dc in the space between the starting ch3 and the 1st dc of the previous row.
Keep repeating R3 until you have the required size. Finish off, weave in your ends and enjoy!
You can make a variety of sizes and colours to suit every dog. If you make one, please share it below or on my Ravelry page. Seeing your finished projects is one of my favourite parts of designing crochet patterns and tutorials! Happy crocheting!